THE SHORT ANSWER
Plan your outdoor kitchen around prep, cooking, serving, and cleanup. Compare three layouts and build a scope a qualified local contractor can price.
Walk one dinner through the yard
Start an outdoor kitchen layout by tracing one ordinary meal from the indoor refrigerator to the table and back to cleanup. Put a stable place to set down a tray where the route needs it, then test where guests will walk while someone cooks. Choose the appliance and its location after a qualified installer checks the site and the exact model. Imagine dinner on an ordinary Thursday. One person brings out ingredients and a second carries glasses. The cook opens the grill lid just as someone comes through the door. Where can the person carrying a tray stop without holding the door open or squeezing behind the cook? On paper, that question can shift an entire kitchen. In the yard, an empty tray and a chair pulled back from the table can answer it. Make a sketch showing the house door, steps, gates, seating, existing cooking spot, and the route to the indoor sink. Measure in feet and inches. Record the usable space with chairs pulled out and doors open. A drawing showing only closed cabinet fronts can miss the moment when the cook, a diner, and an open drawer need the same patch of patio.
Give the tray a place at each handoff
A useful counter starts with a job. Choose separate landing spots for ingredients arriving from indoors, cooked food going to the table, and used dishes heading back. Identify the prep and serving jobs before deciding how much countertop to buy. Walk the route with a cold grill and empty trays. Set one tray down as you open the door, then continue to the candidate cooking area. Leave a second tray at the proposed serving point. Ask someone to pass with a glass or pull out the nearest chair. Mark the pauses on your sketch. If the cook has to move a tray out of the way to reach tools, keep the prep surface clear and put the tools in a place the cook can reach without stepping into the guest route. Run the exercise once more for cleanup. The return trip may need a different landing point because dishes accumulate after everyone sits down. A dedicated return tray near the house door can help keep the serving surface usable through the end of the meal. For food handling, use separate clean serving dishes and follow FDA food safety guidance.
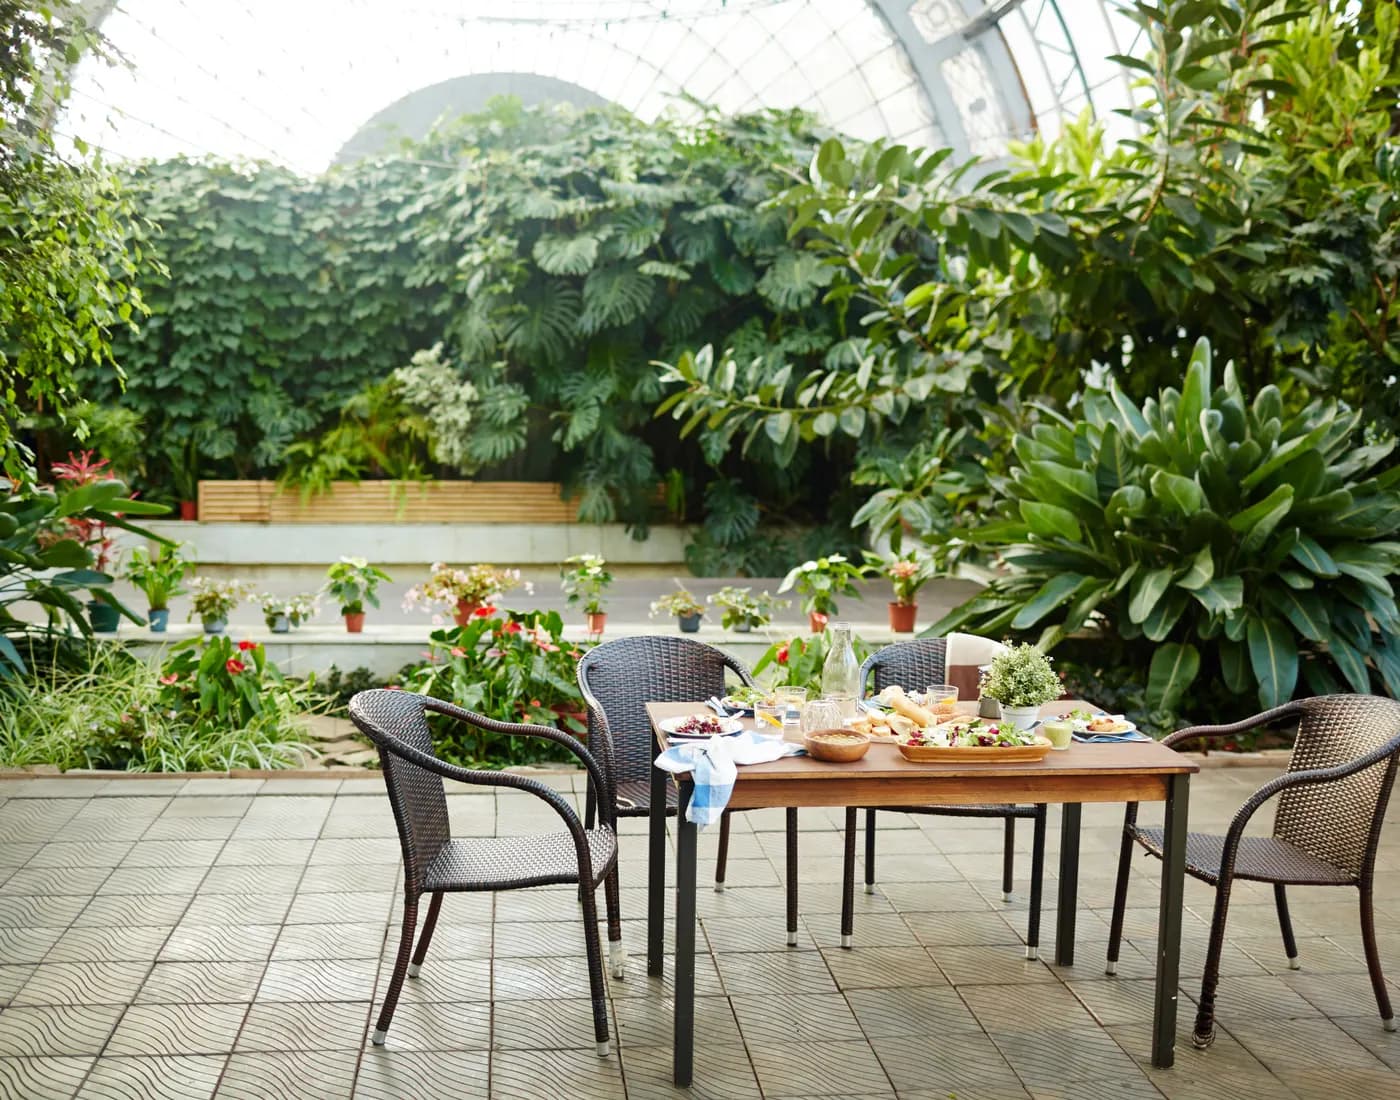
Illustrative design context. Not a construction specification or a documented Yardelia project.
Compare three shapes with the same meal
Compare a straight run, an L-shaped run, and a separate cooking station using the same routes. Give each sketch the same number of seats and the same prep, service, and cleanup jobs. The useful difference will be where each shape puts the cook, the tray, and people in motion. For a straight run, look at where people enter and where they leave. It can concentrate work on one edge, leaving the rest of the patio available for dining. If the only path to the yard runs along that edge, watch for repeated crossings. For an L-shaped run, think about who can reach the corner and which open doors might meet there. Putting serving on the short leg can give guests an obvious place to approach. For a detached station, draw the extra distance from the kitchen door and include the trip with dishes after dark. Keep the sketch that works with your usual headcount. Then mark the one failure you would most want to fix before buying anything. For a tight site, the fix may be a different table orientation or a separate serving surface instead of more cabinetry.
- Straight run. Check whether the cook and through traffic share the same edge.
- L-shaped run. Test the inside corner with cabinet doors open and two people moving.
- Separate station. Walk the longest route with a tray and check the return trip at dusk.
Decide which jobs should stay indoors
Use your indoor kitchen for jobs that already have a short, practical route. Add a sink, refrigerator, or extra storage outdoors when you can name the recurring task each one improves and the care it adds. Write down the food and tools you normally carry out. A household that preps indoors and serves close to the door may need room for one tray and a small set of cooking tools. A host who regularly serves drinks outside may benefit from a distinct beverage spot where guests can help themselves. First test the location with your existing furniture. A spot that works with two people may become congested when someone opens the door for a guest. For an outdoor sink, write the task and frequency beside the proposed location. Then ask a licensed plumber about an approved water supply, drainage and seasonal protection for the site. For refrigeration, ask the manufacturer and installer whether the exact model suits the exposure and operating conditions, and how the unit can be pulled out for service. For storage, decide what you will actually leave outside and what needs a place indoors during the season you use the kitchen least.
Put a review hold on the cooking location
Treat the cooking position as provisional until a qualified local installer has reviewed the site and the instructions for the exact grill. Gas and charcoal grills pose fire and carbon monoxide hazards. CPSC advises using them only outdoors in well-ventilated locations, away from combustible overhead surfaces. Keep children out of the cooking area and stay with a hot grill. Take the model number, fuel type, current installation manual and sketch to the installer. Show overhangs, walls, nearby openings, traffic routes, and the relationship to the dining area. If you plan a built-in appliance, verify that the model is intended for that installation. Ask the installer to confirm clearances, the enclosure, ventilation and service access in writing. An image or a manual for a different grill cannot resolve those details. A roof, screen or weather panel changes the conditions the installer needs to assess. Put any future cover on the sketch now. Contact the local building or fire authority about the applicable permit and inspection requirements. Use qualified licensed trades for gas, electrical and plumbing work as applicable in your jurisdiction. Keep the purchasing decision on hold until the location and the proposed utilities have been checked together.
Use the season you find hardest to cook through
Plan around the weather that interrupts your meals most often. Choose the month when you stop using the patio or change how you cook, then visit the yard at the time you would normally be setting out dinner. Note where the air, light and ground conditions make the route harder. In a cold-winter setting, put water shutdown and spring recommissioning on the plumber's scope if you plan a sink. Record where seasonal furniture and loose equipment can go. In a hot, sunny setting, compare the guest seating at the hours you actually eat outside, and ask the manufacturer what exposure limits apply to each appliance and finish. In a rainy setting, watch where water collects on the carrying route and show the installer what gets wet. For exposed or coastal sites, ask for the finish and hardware care instructions for that exact exposure. Look at the route again at dusk. If a step, door handle, or serving surface is hard to see, mark it for the lighting conversation. Plan shade and weather protection for the diners with the same sketch you give the appliance installer. Review the cooking area separately against the appliance instructions.
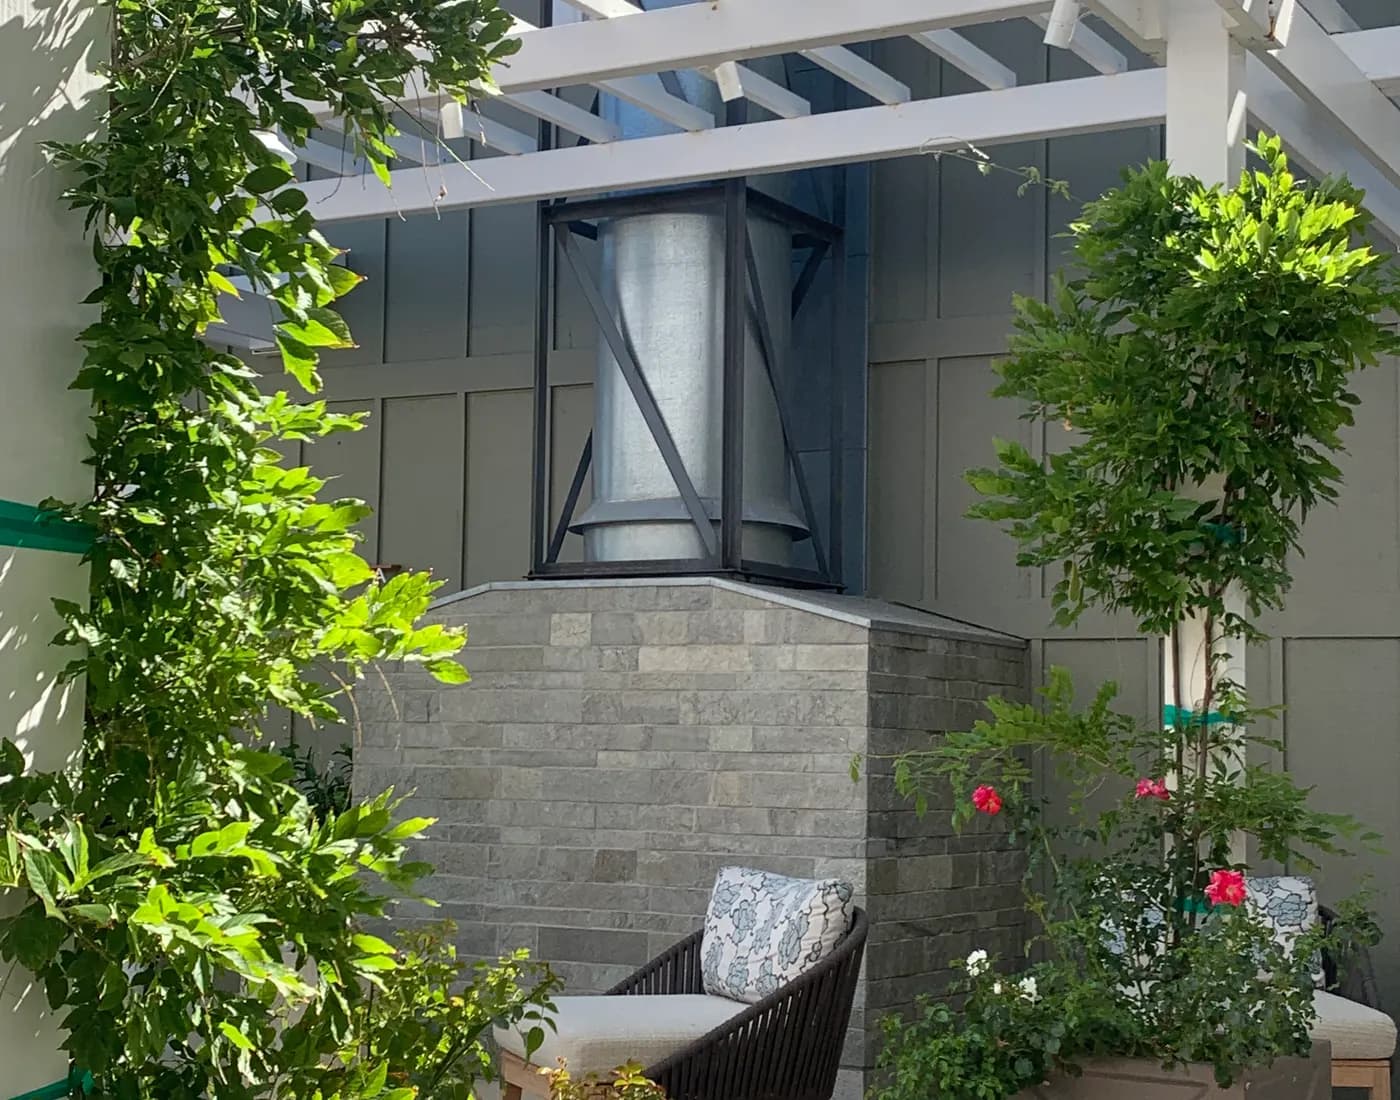
Illustrative design context. Not a construction specification or a documented Yardelia project.
Draw the space you need for service
Give the installer a sketch of the kitchen when it needs attention. Show which parts need to open, where a technician can reach connections, and how equipment might be removed later. Have the service provider confirm that route for the selected appliance before the cabinet or countertop is ordered. A cardboard outline can help you visualize the space taken by a door or removable component. Use it to spot conflicts with a wall, raised planter, chair, or another appliance. Ask the installer for the actual manufacturer service requirements. Cabinet shop drawings should record the appliance model, any approved access panels, and the finish or trim that must come off for a service visit. Put care ownership on the same page. Who brings cushions in? Where do covers dry before storage? Who checks that the grease system and removable parts are maintained according to the manufacturer instructions? Put the model documents, warranty details, and service contacts together in a folder you can find next spring. If you have an outdoor refrigerator or plumbed sink, ask what steps the installer expects at seasonal shutdown and startup, and who handles them.
A hypothetical dinner that changes the drawing
Consider a household of four that often seats six on weekends. A house door opens toward one end of the patio, and the path to the yard gate passes the proposed counter. On the first sketch, a long straight run gives the cook plenty of surface, but the serving end sits next to that path. At a cold rehearsal, one person carries an empty tray from the door while another pretends to bring a pitcher to the table. Both stop where a guest has pulled a chair out. The household tries a serving table on the other side of the dining area. The cook now needs one separate trip to serve, and diners can reach the pitcher without passing through the cooking area. The change earns its place because it clears the path during the busiest moment. Next, they compare that arrangement with a short return on the proposed counter. The return would add a built-in serving spot, but its corner would reduce room to shift the table for bigger gatherings. They keep the movable serving table through one season and record where it works. A qualified installer still has to confirm the eventual grill position. The rehearsal answers a household workflow question and gives the installer a clearer brief.
Make each estimate answer the same questions
Give each contractor the same sketch and list of jobs. Ask for written estimates that identify the work, materials, timing and price. FTC guidance also recommends checking licensing and insurance and getting an explanation for large differences between estimates. For an outdoor kitchen, compare each responsibility as well as each line item. One proposal might include equipment delivery, final connections, testing and instruction while another prices cabinets and countertop only. Mark who is responsible for permits, site preparation, utility trades, and restoring paving disturbed by the work. Ask which details are fixed and which depend on further site review. Record who pays for an approved change if a model becomes unavailable or the approved route shifts. Ask for two versions if scope is still open. One can price a working cooking and serving setup. The other can show the added work for a plumbed sink or installed refrigeration. Give both versions the same quality and finish requirements so the comparison shows the effect of the extra work. Use quotes based on your local site and selected equipment. Record the quote date, what it includes, and how long it remains valid.
- Equipment. List model, supplier, delivery and the person responsible for checking fit.
- Site and utilities. Identify preparation, licensed trades, permits, inspections and surface repairs.
- Handover. Include testing, manuals, warranty contacts, seasonal instructions and service access.
- Open items. Record allowances, exclusions, substitution rules and who approves changes.
Build the part you can use on its own
Define a first phase that can serve dinner and be cared for on its own. A staged plan is easiest to evaluate when each stage names the job it completes, the work included, and the condition that would justify adding the next feature. For example, a first phase could be a professionally reviewed cooking location and a serving surface that lets guests reach the table without passing the cook. Try that arrangement through a season. Record the trips you make back indoors, what you carry, and which trips interrupt the meal. If washing is still the recurring problem, bring that record to the plumber. If the only inconvenience is carrying drinks, compare a separate beverage station before adding another utility. Tell each contractor about the possible second phase and ask what it would change. A later addition can affect cabinet sizes, work access or paving that is already finished. Keep that dependency in the written scope so you can compare building once with staging the work. The decision belongs with the people who use the yard and the trades who can inspect it.
Save a one-page brief before you shop
Finish the plan with a one-page brief that records the meals you want to cook, the routes you tried, and the questions still assigned to a professional. Keep appliance choices provisional until the installer has confirmed the site, model and scope. Bring the brief to every estimate conversation so each contractor starts from the same information. Add a photo or drawing showing the house door, serving surface, steps, seating and weather exposure. Make a note beside anything you cannot verify from the sketch. For example, mark the service access behind the appliance as an installer question, and ask the plumber to define the seasonal plan before you commit to a sink. Date the drawing so later changes are easy to compare. If the drawing still feels crowded, start by revisiting how the patio serves dinner with the equipment you already have. Use Yardelia's small backyard guide to rehearse the table footprint, the shade guide to track the seating area at dinner time, and the patio guide to describe the surface and maintenance questions. The Outdoor Brief gives you a place to consolidate those choices before you discuss the build.
- Typical meal and headcount. Write down the usual dinner and the largest gathering you plan for.
- Three tray handoffs. Mark where ingredients arrive, where food is served, and where used dishes return.
- Layout choice. Record the shape you tested and the crossing you removed.
- Professional questions. List the exact appliance model and assign each open safety, utility and permit question.
- Seasonal care. Note storage space, service access, and who handles shutdown or startup.
Sources & scope
AI-assisted editorial preparation by Yardelia, Oryvelon LLC. Primary sources checked November 4, 2026. The layout rehearsal, comparison, and hypothetical dinner are editorial planning tools. Model suitability, safe placement, permits and utility design require site-specific review by qualified local professionals. Photographs are licensed illustrative stock imagery.
CPSC grill safety guidanceFTC guidance on choosing a contractor and comparing written estimatesWeber Searwood U.S. owner’s manual, an example of model-specific instructionsFDA guidance on handling food safely outdoorsYardelia further reading: rehearse a small backyard dining layoutYardelia further reading: track outdoor shade before planning a coverYardelia further reading: compare patio surfaces and careNext step: build Your Outdoor BriefSources checked 2026-11-04 · See preparation method above.
Put the questions into your own brief.
Gather the observations that matter to your space and take them to a qualified local professional.
Create your Outdoor Brief